

When it comes to hanging pictures, choosing the right nails is crucial for both security and style. In this article, I will share my top picks and ideas for the best nails for hanging pictures in 2024, based on expert advice and recommendations from various sources.
Key Takeaways:
- Choosing the right nails is essential for secure and stylish picture hanging.
- Consider the weight and size of the picture when selecting nails or hardware.
- Command hooks and Velcro strips offer easy installation and removal without wall damage.
- Traditional hooks and nails are reliable options for a more traditional approach.
- Proper placement and height of artwork can enhance its impact on room design.
Choosing the Right Nails for Different Types of Pictures
When it comes to hanging pictures, selecting the appropriate nails or hardware is essential for ensuring a secure and aesthetically pleasing display. The type of picture and frame will dictate the type of nails needed for optimal hanging. Let’s explore some key considerations when choosing nails for different types of pictures:
Lightweight Frames:
For lightweight frames, such as those made of thin wood or plastic, small nails or picture hooks are usually sufficient. These delicate frames can be easily supported by nails with a smaller diameter. Picture hooks provide added stability and can be adjusted for proper alignment, ensuring that the frame hangs straight and level.
Medium to Heavy Frames:
When dealing with medium to heavy frames, such as those made of solid wood or metal, stronger nails or wall anchors may be necessary. These frames tend to be more substantial in weight and require nails that can securely hold them in place. Wall anchors provide additional support by distributing the weight of the frame across a larger surface area of the wall.
Large or Oversized Frames:
Large or oversized frames pose a unique challenge due to their size and weight. It’s important to choose nails or hardware specifically designed to handle the load. Heavy-duty wall anchors that can support significant weight are recommended for securely hanging these frames. Additionally, using multiple nails or anchors spaced evenly along the frame can help distribute the weight and provide added stability.
Table: Best Nails for Different Types of Pictures
| Type of Picture | Ideal Nail or Hardware |
|---|---|
| Lightweight Frames | Small nails or picture hooks |
| Medium to Heavy Frames | Stronger nails or wall anchors |
| Large or Oversized Frames | Heavy-duty wall anchors or multiple nails |
Remember to always consider the weight and size of the picture when selecting the appropriate nails or hardware. By choosing the right nails for different types of pictures, you can ensure a secure and visually appealing display that enhances your home decor.
Command Hooks and Velcro Strips for Easy Installation
When it comes to hanging pictures, convenience and ease of installation are often top priorities. That’s where Command hooks and Velcro strips come in. These adhesive solutions provide a hassle-free way to hang pictures without damaging the walls.
Command hooks are versatile and can hold a variety of frame sizes, making them suitable for various types of pictures. They come with adhesive backing that sticks to the wall securely, while the hook design provides a convenient resting place for picture frames. The best part is that they can be easily removed without leaving any residue or marks on the walls, making them ideal for renters or those who frequently change their wall decor.
Velcro strips, on the other hand, offer a secure hold for lightweight frames. They consist of two adhesive strips, one that attaches to the wall and the other to the back of the frame. The strips interlock, creating a strong bond that keeps the picture in place. Velcro strips are easy to install and remove, making them a popular choice for those who prefer a temporary hanging solution.
Whether you choose Command hooks or Velcro strips, these picture hanging solutions provide a simple and convenient way to display your artwork without the need for nails or hardware. Just make sure to follow the instructions provided, ensuring proper surface preparation and weight limitations for a reliable and secure hold.
Using Hooks and Nails for Traditional Picture Hanging
When it comes to hanging pictures in a traditional way, using hooks and nails is a reliable and time-tested method. Whether you’re hanging small frames or heavy pictures, the right selection of hooks and nails is essential for secure installation. Here are some tips and recommendations to help you choose the best options for your picture hanging needs.
Types of Picture Hanging Nails
There are various types of nails available specifically designed for hanging pictures. For smaller frames and lightweight pictures, you can opt for small-sized nails or wire nails. These nails are easy to install and provide adequate support for smaller items. However, for larger and heavier pictures, it’s recommended to use heavier duty nails such as masonry nails or wall anchors. These nails provide added stability and support, ensuring your pictures stay securely in place.
Hanging Picture Hooks for Stability
“Hanging picture hooks provide added stability and can be adjusted for proper alignment.”
To enhance the stability of your picture hanging, consider using hanging picture hooks. These hooks are specifically designed to provide a secure hold and prevent your pictures from shifting or tilting over time. They come in various sizes and designs, allowing you to choose the right hook for your picture’s weight and frame size. Furthermore, hanging picture hooks can be adjusted for proper alignment, ensuring your pictures are perfectly positioned on the wall.
Secure Installation for Heavy Pictures
For heavy pictures, it’s crucial to ensure a secure installation to prevent accidents or damage to your walls. To achieve this, use sturdy nails or wall anchors that can bear the weight of the picture. Additionally, consider using multiple nails or hooks for added support, especially for oversized or exceptionally heavy frames. It’s also advisable to locate a wall stud or use a stud finder to anchor your nails or hooks into the wall’s solid structure, ensuring maximum stability for your heavy pictures.
| Type of Nail | Picture Weight | Installation Tips |
|---|---|---|
| Small-sized nails | Lightweight pictures and frames | Easy to install, suitable for smaller items |
| Wire nails | Lightweight pictures and frames | Easy to install, provide adequate support |
| Masonry nails | Larger and heavier pictures | Provide added stability, suitable for heavier items |
| Wall anchors | Larger and heavier pictures | Ensure secure installation, ideal for heavy frames |
By using the appropriate hooks and nails for hanging pictures, you can achieve a secure and visually appealing display in your home. Whether you have small frames or heavy pictures, proper installation with the right hardware is key to ensure your artwork stays safely and beautifully showcased on your walls.

Hanging Art on Bookshelves
Hanging art on bookshelves can add visual interest and elevate the overall decor of a room. To ensure a successful display, it’s important to consider the size and proportion of the art piece in relation to the bookshelves. Command hooks or Velcro strips are recommended for easy installation, and hooks or nails can be mounted underneath the shelf for a seamless look. Additionally, unique art pieces such as taxidermy, mirrors, and seasonal decor can be incorporated for added impact.
When it comes to hanging art on bookshelves, finding the right balance is key. You want the artwork to complement the books while also standing out as a focal point. Consider the size of the artwork in relation to the shelves – smaller pieces may get lost among a sea of books, while larger pieces may overwhelm the space. Experiment with different arrangements and placement until you find the perfect balance.
Command hooks and Velcro strips are great options for hanging art on bookshelves because they allow for easy installation and removal without damaging the shelves. Simply adhere the hooks or strips to the back of the artwork and attach them to the desired location on the shelf. This allows for flexibility and the ability to change up the display as desired. For a more seamless look, hooks or nails can be mounted underneath the shelf, providing a secure and hidden way to hang artwork.
Considerations for Hanging Art on Bookshelves
When hanging art on bookshelves, there are a few considerations to keep in mind:
- Size and Proportion: Ensure that the size of the artwork is appropriate for the size of the shelves. Small shelves may require smaller pieces of artwork, while larger shelves can accommodate larger pieces.
- Complementing the Books: Choose artwork that complements the colors, themes, or subjects in the books on the shelves. This will create a cohesive and harmonious look.
- Consider Depth: If your shelves are deep, consider hanging artwork at different depths to add visual interest. This can be achieved by using brackets or other mounting options.
- Personalize with Unique Pieces: Don’t be afraid to incorporate unique art pieces, such as taxidermy or mirrors, to add unexpected elements and showcase your personal style.
- Seasonal Decor: Switching out artwork seasonally can add a fresh and festive touch to your bookshelves. Consider hanging seasonal themed art or incorporating seasonal decor like wreaths or garlands.
By taking these considerations into account, you can create a visually appealing and personalized display of art on your bookshelves. Whether you choose to hang artwork with command hooks, Velcro strips, or hidden hooks and nails, make sure to experiment with different arrangements and styles until you find the perfect combination.
Fall Nail Art Trends to Try
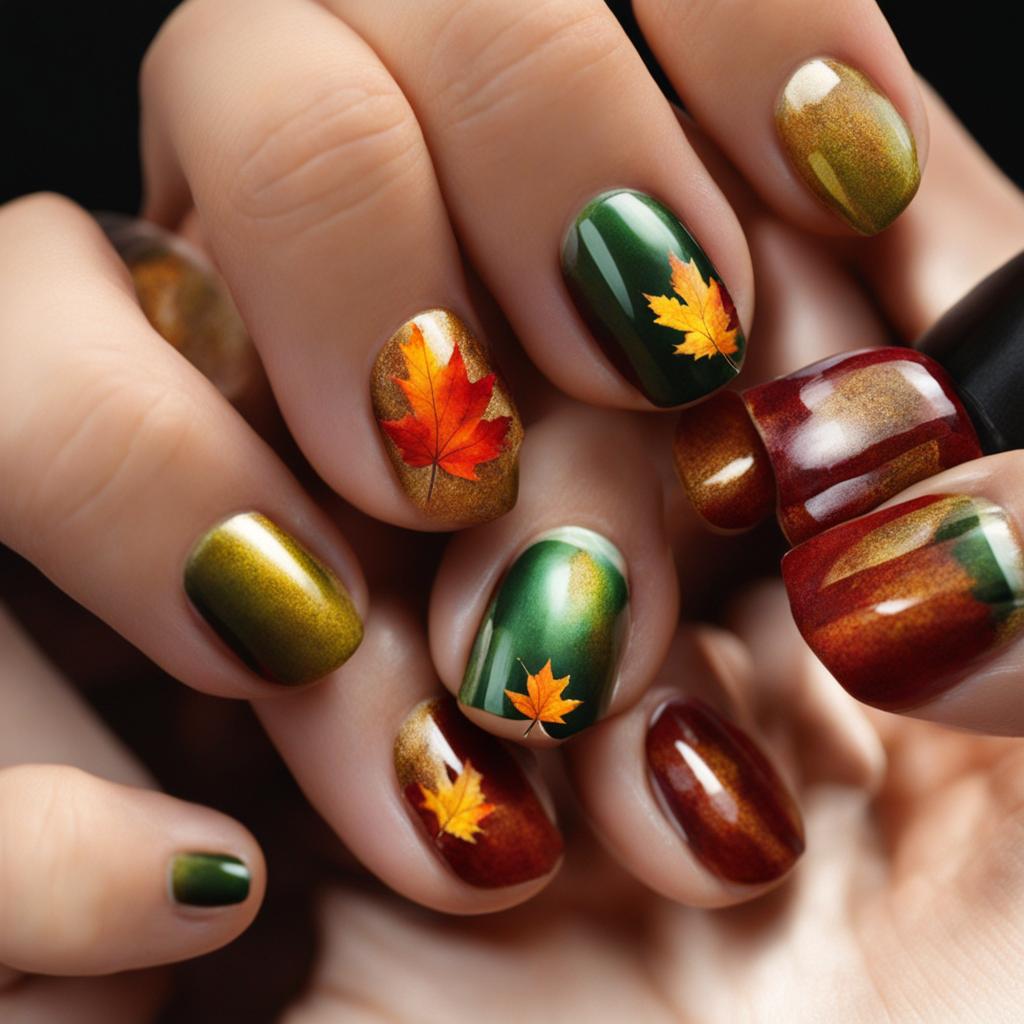
I absolutely love experimenting with nail art and keeping up with the latest trends. Fall is the perfect time to try out new designs and embrace the seasonal colors and themes. In 2024, nail experts predict that we’ll see a surge in adventurous and fun nail art designs that capture the essence of fall. Here are some of the hottest fall nail art trends to try:
1. Chrome Tips
Add a touch of elegance to your nails with chrome tips. This trend involves painting the tips of your nails with metallic or chrome polish, creating a sleek and modern look. You can experiment with different colors, such as gold, silver, or even deep jewel tones like emerald or sapphire.
2. Reflective Pigment
Add some sparkle and shine to your nails with reflective pigment. This trend involves using special powders or pigments that give your nails a stunning holographic effect. You can apply the pigment over a base color or create intricate designs for a unique and eye-catching look.
3. Plaid Patterns
Plaid patterns are always in style during the fall season. This year, take your plaid obsession to your nails with plaid-inspired nail art. You can create classic plaid patterns using nail striping tape or opt for plaid-inspired designs with a modern twist. Choose fall colors like deep red, forest green, or mustard yellow for a perfect autumn look.
4. Astrological Signs
Show off your zodiac sign with astrological nail art. This trend involves incorporating your birth sign’s symbol or constellation into your nail designs. You can paint the symbols or constellations directly onto your nails or use nail stickers for a more intricate design. Get creative and experiment with different colors and celestial motifs to personalize your astrological nail art.
With these fall nail art trends, you can express your personal style and stay on-trend throughout the season. Whether you go for chrome tips, reflective pigment, plaid patterns, or astrological signs, your nails will be an eye-catching accessory that complements your fall outfits perfectly.
| Trend | Description |
|---|---|
| Chrome Tips | Add metallic or chrome polish to the tips of your nails for an elegant look. |
| Reflective Pigment | Use special powders or pigments to create a holographic effect on your nails. |
| Plaid Patterns | Incorporate classic plaid patterns or modern plaid-inspired designs into your nail art. |
| Astrological Signs | Show off your zodiac sign with nail art featuring your birth sign’s symbol or constellation. |
How to Decorate Your Space with Artwork
Artwork has the power to transform a space, adding character and personality to any interior. When it comes to decorating with artwork, there are a few key considerations to keep in mind. In this section, I will share some tips and ideas for displaying and pairing artwork in your home to create a visually stunning and cohesive look.
Using Artwork as a Focal Point
One effective way to incorporate artwork into your space is by using it as a focal point. Select a favorite piece or a statement artwork that speaks to you and build your room’s design around it. Use the colors, patterns, and themes in the artwork to inspire your choice of furniture, textiles, and decor. By creating a cohesive look, your artwork will shine, serving as a catalyst for the overall design of the room.
Pairing and Mixing Artwork
Pairing and mixing artwork is another way to create visual interest in your space. Experiment with different styles, mediums, and sizes to create an eclectic and personalized display. You can group similar pieces together or create a gallery wall with a mix of artwork. Just make sure to consider the scale and balance of the pieces in relation to the wall or furniture they are displayed with for a dynamic and impactful presentation.
Proper Placement of Artwork
Proper placement of artwork is crucial to its visual impact. Consider the height at which you hang your artwork to ensure optimal viewing. A general guideline is to hang artwork at eye level, avoiding the common mistake of placing it too high on the wall. By keeping your artwork within comfortable view, you can fully appreciate its beauty and create a harmonious flow in your space.
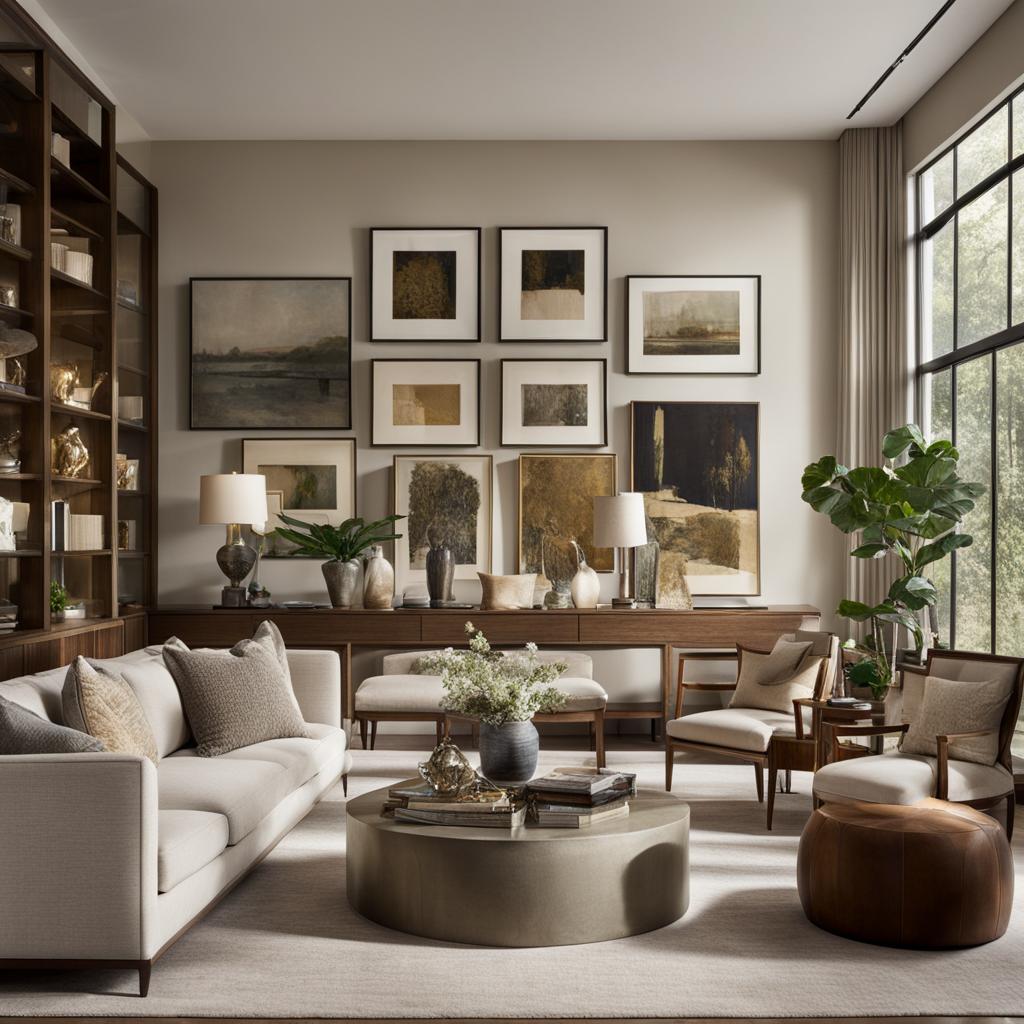
Decorating with artwork is an art form in itself. By following these tips and ideas, you can transform your space into a gallery-like setting that reflects your personal style and enhances the overall ambiance of your home.
Tips for Hanging Art at the Right Height
When it comes to hanging art, placing it at the right height is essential for optimal viewing and aesthetic appeal. Hanging artwork too high or too low can disrupt the overall balance of a room, creating an uncomfortable viewing experience. Follow these tips to ensure your art is hung at the perfect height:
- Eye Level: In general, artwork should be hung at eye level, which is approximately 57 to 60 inches from the floor. This allows viewers to comfortably observe the artwork without straining their neck or eyes.
- Consider Furniture: If you’re hanging art above a piece of furniture, such as a sofa or console table, it’s important to leave some space between the furniture and the bottom of the artwork. Aim for a distance of 6 to 8 inches to create a visually pleasing arrangement.
- Grouping Art: If you’re hanging multiple pieces of art together in a gallery wall or grouping, consider the overall composition. Start by arranging the pieces on the floor to find a layout that you like. Once you’ve decided on the arrangement, measure the distance from the floor to the top of the highest piece and use that as a reference point for hanging.
- Large or Oversized Art: When hanging larger or oversized pieces of art, it’s important to take into account the scale of the artwork and the wall it will be displayed on. For example, if you have a tall wall, consider hanging the art slightly higher to fill the vertical space.
By following these tips, you can ensure that your art is displayed at the perfect height, creating a visually pleasing and balanced arrangement in your space. Remember to take into account the specific dimensions of your artwork and the unique characteristics of your room to achieve the best overall effect.
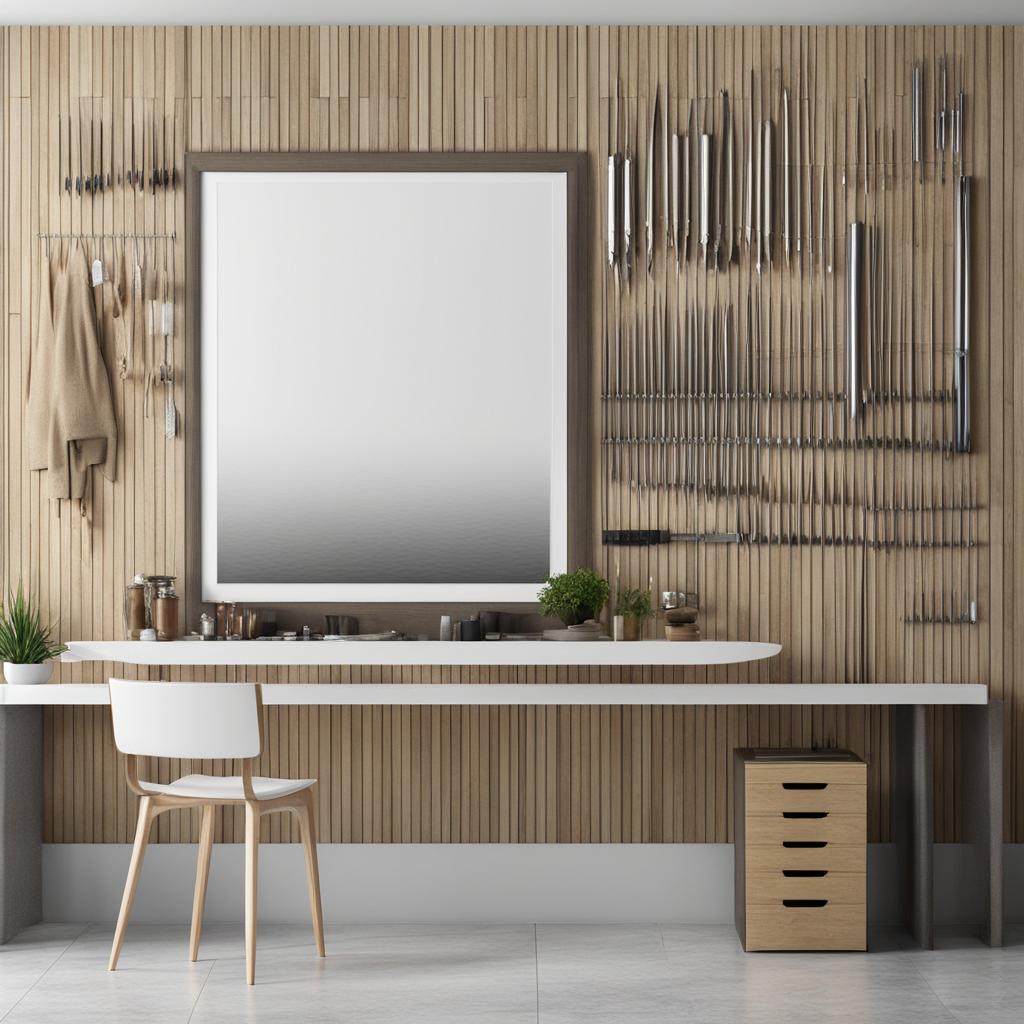
Table: Art Hanging Height Recommendations
| Artwork Placement | Height from Floor (inches) |
|---|---|
| Eye Level Placement | 57-60 |
| Above Furniture | 6-8 |
| Gallery Wall | Refer to the highest point |
| Large/Oversized Art | Adjust to fill the space |
Using Art as a Focal Point for Room Design
Artwork has the power to transform a space and serve as a focal point for room design. By selecting a favorite piece and using it as a catalyst, you can create a harmonious and visually appealing atmosphere. When incorporating art into your design, consider the following tips:
1. Inspiration for Color Palette:
Look to the colors in your artwork for inspiration when choosing a color palette for the room. Pull out dominant hues or complementary shades to use on the walls, furniture, and accessories. This will create a cohesive and coordinated look that ties the entire space together.
2. Placement and Size:
Consider the dimensions of your artwork and where it will have the maximum impact. If you have a large piece, position it on a wall that can accommodate its size and ensure it remains the center of attention. Smaller pieces may be grouped together to create a gallery wall effect. Experiment with different arrangements to find the one that enhances the overall design of the room.
3. Pairing with Furniture and Decor:
Use your artwork as a guide when selecting furniture and decor pieces. Consider the style, theme, and mood conveyed by the artwork, and choose pieces that complement and enhance its aesthetic. This will create a cohesive and curated look that elevates the impact of both the art and the room.
4. Creating Visual Balance:
Balance is key when incorporating art into your room design. If you have a large, bold piece of artwork, balance it with smaller pieces or create symmetry by hanging two identical pieces on either side. This will ensure that the space feels visually balanced and harmonious.
By using art as a focal point, you can create a room that reflects your personal style and showcases your favorite pieces. Let your artwork be the catalyst for your design choices, from color palettes to furniture selection. The result will be a space that is not only visually striking but also reflects your unique personality and taste.
Curating Your Art Collection for Impactful Display
Curating your art collection involves more than just acquiring pieces; it’s about arranging and displaying them in a way that creates a visually striking and impactful presentation. Whether you have a small collection or a vast array of artwork, thoughtful curation can elevate your display to a whole new level. Here are some tips to help you curate your art collection for maximum impact:
- Create a theme or aesthetic: Start by identifying the common threads or themes among your artwork. This could be based on style, subject matter, or color palette. By creating a cohesive theme or aesthetic, you can create a visually harmonious display that tells a story.
- Consider scale and placement: When arranging your artwork, think about the size and scale of each piece. Larger artworks can serve as focal points, while smaller pieces can be grouped together for a curated gallery wall. Experiment with different arrangements and consider the overall balance and flow of your display.
- Mix different styles and mediums: Don’t be afraid to mix and match different styles and mediums of artwork. Contrasting styles can create visual interest and add depth to your display. For example, pair a contemporary abstract painting with a vintage photograph to create an eclectic and dynamic arrangement.
- Utilize lighting and framing: Proper lighting and framing can enhance the impact of your art collection. Consider using spotlights to highlight specific pieces, or install picture lights to add a warm glow to your display. Additionally, choose frames that complement the artwork and enhance its overall presentation.
Hanging Art Collection Example:
| Artwork Title | Artist | Medium | Size | Placement |
|---|---|---|---|---|
| Untitled | John Smith | Oil on canvas | 24″ x 36″ | Centerpiece, eye-level in the living room |
| Cityscape II | Jane Johnson | Photography | 16″ x 20″ | Grouped with other cityscape photographs on the hallway wall |
| Abstract Dream | Emma Brown | Mixed media | 30″ x 30″ | Framed and displayed on its own above the fireplace |
| Study in Blue | Michael Davis | Watercolor | 12″ x 16″ | Grouped with other small watercolor paintings in the bedroom |
Curating your art collection is a personal and creative process that allows you to showcase your unique taste and style. By following these tips and experimenting with different arrangements, you can create an impactful and visually captivating display that brings your artwork to life.
Conclusion
Hanging pictures is an essential aspect of home decor, and choosing the right nails is crucial for both functionality and aesthetics. Based on expert advice and recommendations, I have provided a comprehensive guide to help you select the best nails for hanging pictures.
Depending on the type of picture and frame, different nails or hardware may be required for optimal hanging. For lightweight frames, small nails or picture hooks are sufficient, while heavier frames may need stronger nails or wall anchors. It’s important to consider the weight, size, and style of the picture when selecting the appropriate hardware.
There are various picture hanging solutions available, including Command hooks, Velcro strips, traditional hooks, and nails. Command hooks and Velcro strips offer easy installation and removal without damaging the walls, making them ideal for renters or those who frequently change their wall decor. Traditional hooks and nails provide reliability and stability, especially for heavy pictures. Remember to use sturdy nails or wall anchors when hanging heavy artwork.
By following these expert tips and ideas, you can confidently hang your cherished artwork while creating a beautiful display that enhances your home decor. Whether you choose Command hooks, Velcro strips, or traditional hardware, selecting the best nails for hanging pictures will ensure a secure and visually appealing result.
FAQ
What types of nails are best for hanging pictures?
The type of nail you should use for hanging pictures depends on the weight and size of the picture. Lightweight frames may only require small nails or picture hooks, while heavier frames may need stronger nails or wall anchors.
What are some popular options for easy picture hanging?
Popular options for easy picture hanging include Command hooks and Velcro strips. These adhesive options offer easy installation and removal without damaging the walls, making them especially useful for renters or those who frequently change their wall decor.
What are the benefits of using hooks and nails for traditional picture hanging?
Hooks and nails are reliable options for traditional picture hanging. Picture hanging nails come in various sizes and can support different weights, making them suitable for both small and heavy pictures. Hanging picture hooks provide added stability and can be adjusted for proper alignment.
How can I hang art on bookshelves?
To hang art on bookshelves, you can use Command hooks or Velcro strips for easy installation. Hooks or nails can also be mounted underneath the shelf for a seamless look. Additionally, unique art pieces such as taxidermy, mirrors, and seasonal decor can be incorporated for added impact.
What are some fall nail art trends to try?
Fall 2024 is predicted to see a surge in adventurous and fun nail art designs, including chrome tips, reflective pigment, plaid patterns, astrological signs, and ’70s-inspired colors and designs.
How can I decorate my space with artwork?
Start by selecting your favorite pieces of artwork and hanging them in prominent places. Use your artwork as a starting point for color palettes and decor choices. Consider mixing and matching different colors and designs for an eclectic style that adds depth to your decor.
How should I hang art at the right height?
Artwork should be hung at eye level to ensure optimal viewing. Avoid the common mistake of placing it too high on the wall. Use semi-permanent hanging strips or brown paper cutouts to test placement before making a final decision.
How can I use art as a focal point for room design?
By selecting a favorite piece of art and using it as a starting point, you can create a cohesive design scheme. Consider the textures, colors, and patterns in the artwork to guide your choices for rugs, pillows, curtains, and other decorative elements in the room.
How can I curate my art collection for an impactful display?
Start by identifying your favorite pieces and deciding on a theme or aesthetic for your collection. Group similar pieces together or create gallery walls for a dramatic effect. Consider the size and scale of the artwork in relation to the wall or furniture it will be displayed with.